How Your Custom Jewelry Comes to Life: The Lost Wax Casting Process
Every piece of custom jewelry starts with a vision.
At Emildific, we use the traditional art of lost wax casting to turn that vision into something real—detailed, personal, and made to last. Here’s a simple look at how it all happens.
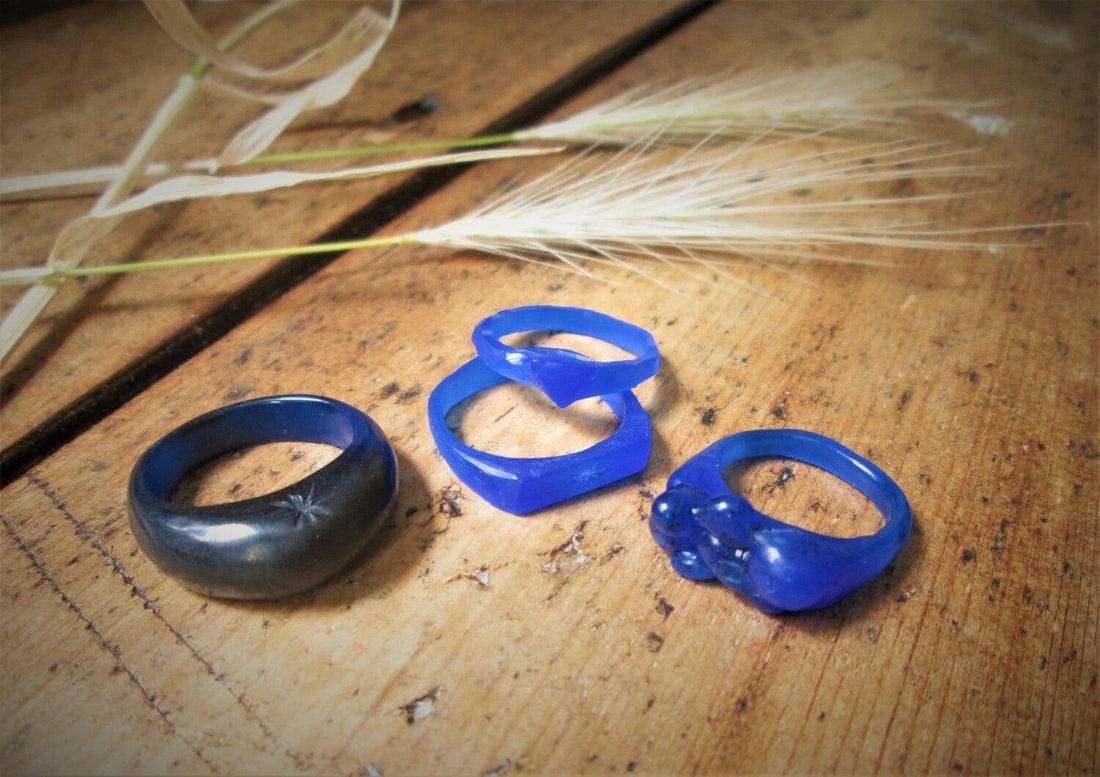
Step 1: Wax Carving
Source URL
Think of this as sculpting—but with wax instead of clay. Our jeweler hand-carves your design from a special wax block, shaping every line, curve, and contour. This wax model is the replica of the finished piece, down to the tiniest detail.
Step 2: Wax Assembly
Source URL
In this step, the focus is on placing the different wax models of the jewelry onto a single “tree.” This connection is essential because it brings all the pieces together in one structure, allowing the molten gold to flow evenly into every cavity during casting. Since the components are already complete from the wax carving stage, the purpose of this step is to connect the parts in a way that makes the overall casting process efficient and successful.
Step 3: Investment (Mold Making)
Source URL
The complete wax model is placed inside a casting flask, and a liquid plaster-like material called investment is poured over it. Once hardened, this investment forms a heat-resistant mold around your wax jewelry.
Step 4: Burnout
Source URL
The mold is placed into a kiln and slowly heated. The wax inside melts away and is burned out completely, leaving behind a hollow cavity in the exact shape of your design. This is where the metal will go.
Step 5: Casting
Source URL
With the mold still hot, we pour molten precious metal (like gold, silver, etc) into the cavity left by the wax. This metal flows precisely into every detail, forming the solid version of your custom design.
Step 6: Breakout
Source URL
Once the metal cools and solidifies, we carefully break the plaster mold apart. What’s revealed is a rough casting of your jewelry—unfinished, but fully formed.
Step 7: Finishing
Source URL
This is where the magic happens. We cut away extra metal (sprues), file rough edges, polish surfaces, and, if applicable, set gemstones or add engraving. Your piece goes from raw metal to a shining, wearable treasure.
Step 8: Final Inspection
Source URL
Before your jewelry leaves our hands, it’s carefully checked for quality. We look for perfection in polish, symmetry, settings, and detail—ensuring it meets the Emildific standard. Only then is it ready to be worn and loved.
Let us bring your story to life—one wax carving at a time!